Introduction to Arduino 8×8 LED Matrix
The Arduino 8×8 LED Matrix represents an exquisite blend of technology and creativity, offering a vast playground for both beginners and seasoned enthusiasts in the realm of electronics. This guide delves deep into the nuances of creating and programming an 8×8 LED Matrix using Arduino, unveiling the potential of this compact yet powerful device.
Understanding the Basics: What is an Arduino 8×8 LED Matrix?
At its core, an Arduino 8×8 LED Matrix is a small grid of lights, with each light representing an individual LED. These matrices are designed to be driven by Arduino, a versatile open-source electronics platform based on easy-to-use hardware and software. The 8×8 configuration, consisting of 64 LEDs, allows for the display of symbols, characters, and simple animations.
Choosing the Right Components for Your Project
Before diving into the project, it is crucial to select the appropriate components. Essential items include:
- Arduino Uno or any other compatible Arduino board
- An 8×8 LED Matrix module
- Connecting wires and a breadboard
- Optional: resistors and power supply for larger projects
Step-by-Step Guide to Setting Up Your Arduino 8×8 LED Matrix
Setting up your Arduino 8×8 LED Matrix involves several key steps:
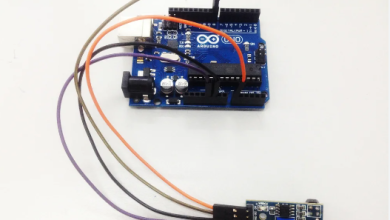
- Connecting the Matrix to Arduino: Carefully connect the LED matrix pins to the Arduino using jumper wires. It’s important to refer to the matrix’s datasheet for the correct pin configuration.
- Powering Your Matrix: Ensure that your matrix is powered adequately, either through the Arduino board or an external power source for larger setups.
- Software Setup: Install the Arduino IDE on your computer, connect your Arduino board, and select the correct board and COM port.
Programming Your Arduino 8×8 LED Matrix
Programming is where the magic happens. Utilize the Arduino IDE to write, compile, and upload code to your Arduino board. You can create custom patterns, texts, or animations. Libraries like LedControl and MD_MAX72XX are particularly useful in simplifying the coding process.
Creating Custom Displays and Animations
Your creativity is the limit when it comes to what you can display. Here are some ideas:
- Scrolling Text: Display dynamic messages or alerts.
- Custom Patterns: Create unique designs or symbols.
- Interactive Games: Simple games like ‘Snake’ or ‘Tetris’ can be coded.
Advanced Projects: Expanding Your Matrix
For those seeking more advanced projects:
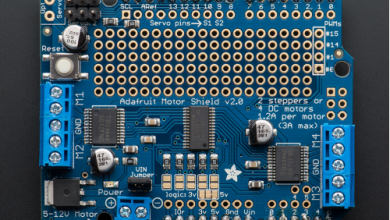
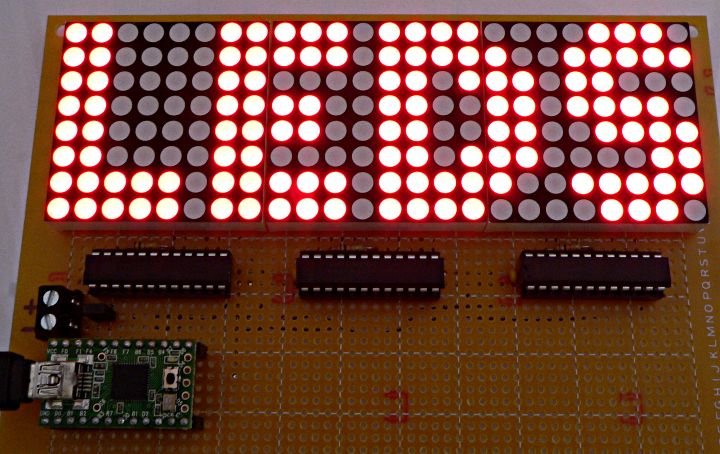
- Multiple Matrices: Link several matrices for a larger display.
- Sensor Integration: Combine with sensors for interactive displays.
- IoT Projects: Incorporate into IoT applications for smart home displays.
Troubleshooting Common Issues
Like any electronic project, you might encounter issues such as flickering LEDs or unresponsive matrices. Check your connections, ensure adequate power supply, and verify your code for errors.
Inspirational Projects and Community Support
There are countless projects online that you can draw inspiration from. Engaging with the Arduino community through forums and social media can also provide support and new ideas.
Safety Precautions and Best Practices
Always follow electrical safety guidelines. Use appropriate resistors to prevent LED burnout and test your circuit on a breadboard before finalizing the design.
Conclusion: The World of Possibilities with Arduino 8×8 LED Matrix
The Arduino 8×8 LED Matrix is not just a tool for learning electronics; it’s a gateway to unleashing creativity and innovation. With the right approach and imagination, the possibilities are endless.